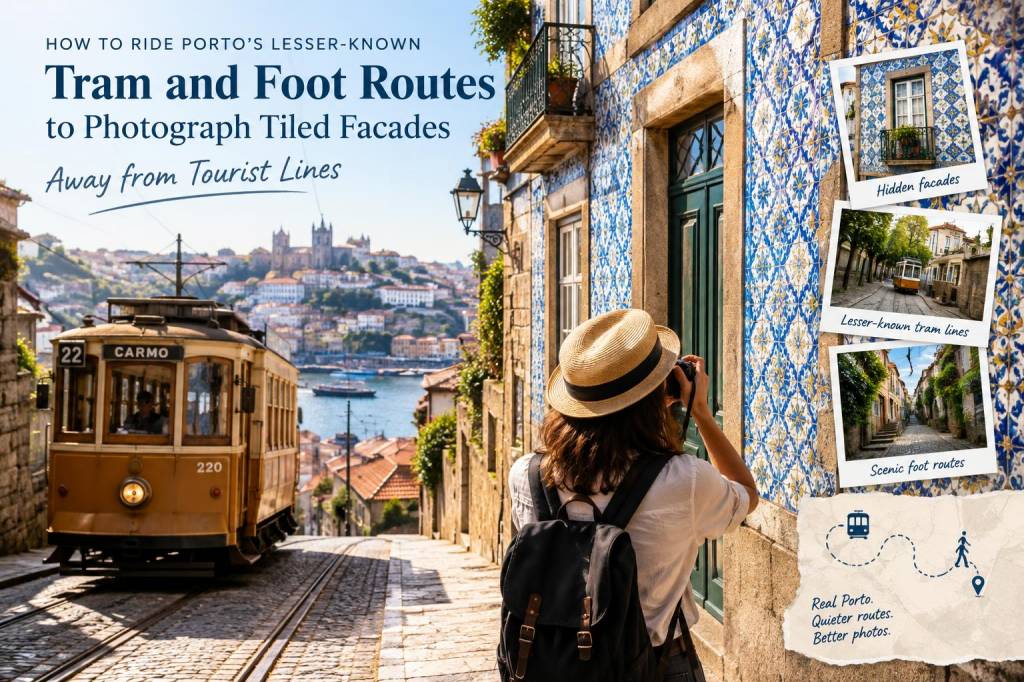
I love Porto for the way tiles keep appearing like small revelations — a glazed doorway in a quiet alley, a blue-and-white panel telling a story on a convent wall, a whole façade that looks like a patterned quilt. Most visitors flock to São Bento and the riverside, which is understandable. But if you want to photograph tiled facades without the tourist crowd, you need to think in terms of slow connections: lesser-used heritage trams (the tiny, creaky ones that still rattle through town) and short walking routes that thread neighborhoods together. Below I share routes I actually walk, the practical bits that make them work, and the camera tricks I use to render tile texture and glaze into something tactile on the image.
Why combine trams and walking?
Trams in Porto are less about speed and more about rhythm. The heritage lines carry fewer passengers and skirt intimate districts where tiles are integrated into everyday life — laundries, cafés, tiled stoops where neighbors chat. Walking lets you drop into alleys, arcaded passages and local squares that tram windows simply glide past. The combination multiplies possibilities: hop off, explore a block or three, let the light shift, then catch the next tram to a different cluster of façades.
Neighborhoods I focus on (and why they work)
- Miragaia and Massarelos — older riverfront quarters with narrow streets, scattered historical houses and lots of small, often faded azulejos. Quiet before mid-morning.
- Bonfim and Cedofeita — a mix of working-class façades and newer cafés; tiles peek out between graffitied shutters and modern shopfronts, making for lively contrasts.
- Ribeira backstreets — not the main riverside promenade but the alleys up from it: unexpected panels, small chapels and family homes where tiles frame doorways instead of dominating big surfaces.
- Carmo & Batalha periphery — near the tram loops there are quiet lanes and tiled staircases that photographers often miss because they stay on the main squares.
How I plan a half-day route
My typical outing is a three-to-four-hour loop timed around golden hour or late afternoon. Example routine I use:
- Start early at a tram terminus (I aim for 8–9 am on weekdays). Fewer people, softer light, damp cobbles after an evening shower hold colour beautifully.
- Ride a short heritage tram segment — the ones that curl toward the river or Foz — and listen for stops where locals get on and off. Those stops are usually near services and hidden façades.
- Hop off after a couple of stops into a less-trafficked street and walk a 20–40 minute loop, letting the light and rhythm tell you which alleys to take.
- Rejoin a tram to a new neighborhood and repeat. Finish with coffee and a pastel de nata at a small bakery where you can flip through images and notice patterns you missed in the moment.
Tickets, timetables and practicalities
Use an Andante card for seamless travel across trams, metro and buses — it’s available at metro stations and many kiosks. Heritage trams sometimes accept cash, but it’s simpler to have the card. Don’t expect high frequency; these lines are short and run with pauses between runs, which is perfect for photographers because it forces you to walk rather than chase the next tram.
Check schedules on the STCP site or at the tram stops, but be flexible: heritage trams are as much about experience as timetable precision. If you prefer guaranteed travel, use the metro to reach the outer neighborhoods and then pick up walking routes from there.
Where to look for tiles — what tells you there’s something interesting ahead
- Look for small intervals of sunlight on façades across the street — that glint often highlights glossy azulejos.
- Doors with old brass knockers or worn stone steps: tiles frequently appear around thresholds.
- Near churches and convents — they often have decorative panels tucked above entrances or along stairways.
- Older laundries and community shops — tiles are practical and decorative; small panels are very common above shop windows and inside recessed doorways.
Composing tiled façades — my photographic approach
I shoot with a compact mirrorless (Fujifilm X-series or Sony a6000-ish bodies are what I carry) and a 24–70mm equivalent lens. Why compact? You need to move quickly through alleys and be unobtrusive. Here’s how I work a façade:
- Find texture: tilt the camera slightly along the wall to catch the glaze, or shoot at a shallow angle to show the relief of older tiles.
- Use a polarizer: it tames reflections and saturates the blues and greens without oversaturating skin tones if locals are in frame.
- Details and context: alternate wide frames that show the tile within the streetscape with tight details of a single panel or crack pattern. The two together tell a better story.
- Golden hour and wet surfaces: the hour after sunrise and before sunset gives warm side-light that brings out glaze and mortar texture. After rain, colour and contrast amp up dramatically.
- Include a human element: a passerby, a laundry line, or a shopkeeper gives scale and context. I prefer candid, unobtrusive shots — keep the camera low and shoot quietly.
Respect, permissions and local rhythm
Porto is friendly but private in pockets. If someone is obviously posed on a doorstep, ask before shooting close-ups. Many people are happy to chat — a brief compliment about their tiles goes a long way. If a scene feels like a private home, photograph from the public pavement or step back and frame from across the street. I always carry a small printed card with my site name and contact info in case someone asks for details.
Sample walk I love (a flexible 3-hour loop)
Start at a tram terminus near the city centre, take a short heritage tram ride along the riverfront and hop off in Miragaia. Walk inland through the narrow streets, paying attention to doorways and small chapels. Exit toward Massarelos and follow the quay for a few minutes, then duck into the grid behind the riverside to find smaller panels and stoops. From there, take another short tram or a 20-minute walk back toward Bonfim, where older façades meet contemporary cafés. Finish across a quiet square with coffee and images review.
Gear checklist I actually carry
- Compact mirrorless body (one): great for low profile and good JPEGs/RAW.
- 24–70mm equivalent zoom or a 35mm prime — versatility beats heavy primes when hopping trams and stairs.
- Circular polarizer (screw-on) — essential for shiny tiles and skies.
- Small microfiber cloth — tiles attract fingerprints and spray; wipe often.
- Lightweight folding stool or mini-tripod — for long exposures or to steady in low light at dawn/dusk.
- Andante card and a small coin purse — for tram credit and café pastries.
Porto’s tiles reveal themselves to the patient walker and the attentive tram rider. You don’t need a guidebook to find them — just a plan built around slow hops, an eye for thresholds and a camera that feels like a natural extension of your curiosity. Bring comfortable shoes, a polite smile, and enough curiosity to wander one more block when the first set of tiles has already stolen your attention.