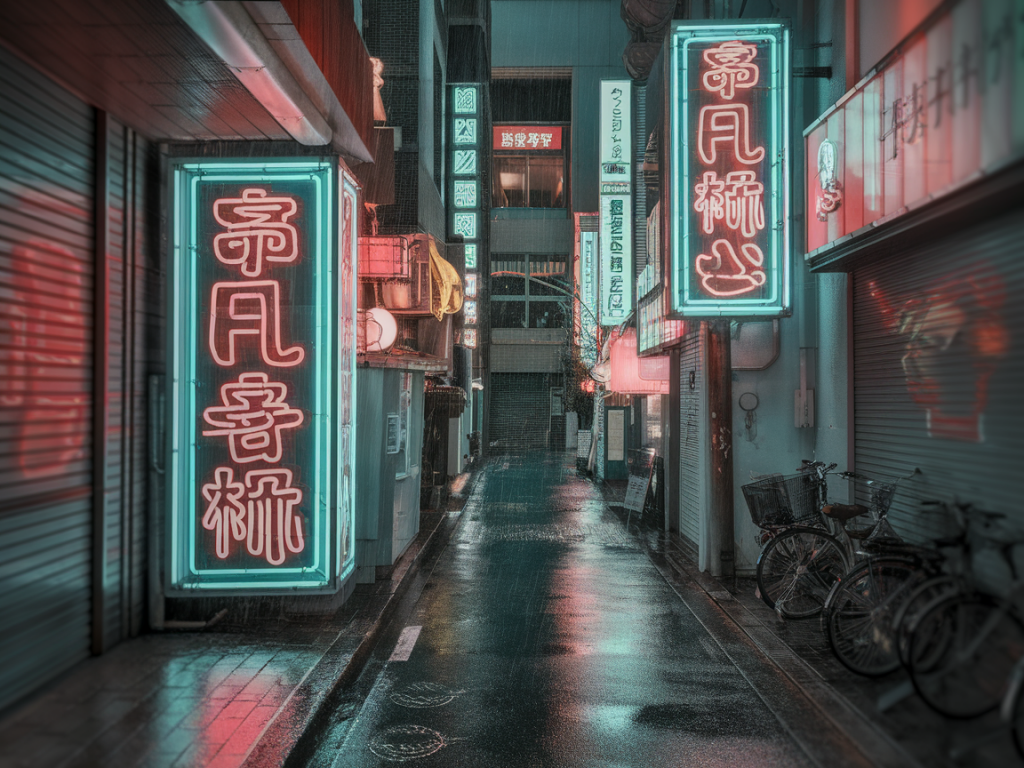
I love Shimokitazawa after a rainstorm. The narrow alleys become lacquered mirrors, neon signs double in puddles and the whole neighborhood hums with a wet, intimate glow that feels made for a compact mirrorless camera. I often shoot these alleys handheld, no tripod, and I’ll walk you through exactly how I get crisp, atmospheric images without lugging a kit around.
Why a compact mirrorless works best
Compact mirrorless cameras (Sony a6400 / a7C, Fujifilm X-E4 / X-S10, Canon EOS R50, or similar) are ideal for Shimokitazawa’s cramped streets. They’re small enough to move through crowds, fast enough to nail low-light autofocus, and produce high-quality files that withstand cropping. I prefer a small prime or a versatile 18–55 / 16–50 kit zoom — something brightish (f/1.8–f/2.8 when possible) and light in my bag.
When to go
Timing matters more than gear. I aim for:
What I carry (light and purposeful)
- Compact mirrorless body with a 35mm-equivalent prime (about 24–50mm field of view). I often use a 23mm f/2 or 35mm f/1.8.
- A small zoom (16–50 or 18–55) if I want framing flexibility.
- Small microfiber cloth and lens hood — rain and neon spray up quickly from passing scooters or crowded doorways.
- Disposable or compact clear poncho — keeps you and the camera dry without the bulk of an umbrella.
- Extra battery and a 64GB card. Cold, wet evenings drain batteries faster.
Camera settings I start with
I keep things simple and reactive. Here’s the template I use as a starting point, then adjust for movement and light.
| Situation | ISO | Shutter | Aperture | Notes |
|---|---|---|---|---|
| Still puddles / tripod-like stance | 100–400 | 1/30–1/60s | f/4–f/8 | Use steady stance, lean on wall to stabilize; maximize depth. |
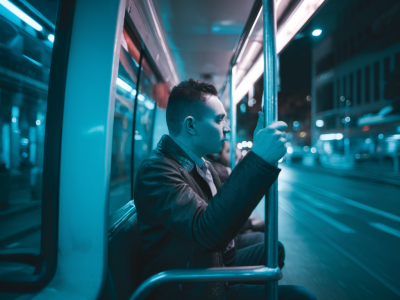
| Handheld neon portraits / single person | 800–1600 | 1/125–1/250s | f/1.8–f/2.8 | Freeze motion, subject illuminated by neon. |
| Street with moving people/cars | 1600–6400 | 1/60–1/200s | f/2–f/4 | Balance motion blur and grain; test in RAW. |
Autofocus, stabilization and RAW
Enable continuous autofocus (AF-C) with face/eye detection if you’re shooting people, and single-point AF for precise framing on signs or textures. Turn on in-body image stabilization (IBIS) if your camera has it — that’s a small advantage when shooting handheld at slower speeds. I always shoot RAW so I can recover highlights in neon and control white balance later.
Compositional strategies for neon alleys
Neon photography is as much about mood as it is about light. I use a few repeatable approaches:
- Reflections: Look for puddles and low-angled surfaces. Get low, almost at puddle level, and frame the reflection as the main subject with the sign or figure entering from the top edge.
- Leading lines: Alley lanes, wet tiles or tram rails create lines that pull the eye toward a neon sign or a doorway.
- Negative space: Dark, wet walls isolate a neon pop; let that color breathe. Negative space amplifies mood.
- Human element: A person under an umbrella, a vendor at a stall, or someone crossing can add scale and narrative. Wait for them to enter your frame rather than chase every passerby.
- Layering: Combine foreground reflections, mid-ground subject, and background neon to give depth. Shimokita’s alleys have multiple planes — use them.
Handheld techniques to avoid blur
Without a tripod, technique matters:
- Keep your elbows tucked into your ribs and hold the camera close.
- Use a short, controlled breath — exhale slowly as you depress the shutter.
- Lean against stable surfaces (walls, railings) when available — it’s my go-to “poor man’s tripod.”
- Use burst mode for moving subjects — you’re more likely to catch sharp frames.
- If you have image stabilization, pair it with a faster shutter to reduce motion blur from people or scooters.
Lighting and white balance tips
Neon can fool your camera’s auto white balance. I set WB to Auto as a base, but usually shift in post. If I want a consistent mood straight out of camera, I choose a Kelvin preset (3200–4200 K) depending on the neon color. Underexpose slightly (–0.3 to –0.7 EV) to preserve neon highlights; you can lift shadows in RAW much more cleanly than recover blown highlights.
Interacting with people and local etiquette
Shimokitazawa is lively but intimate — be mindful:
- Always ask before photographing someone close-up. A nod or a brief Japanese phrase like “写真撮ってもいいですか?” (Shashin totte mo ii desu ka?) can go a long way.
- Respect private entrances and shops — don’t block doorways while composing.
- Be discreet with flash; neon thrives on ambient light. If you must use fill, bounce it off a wall or use a small diffuser to avoid harshness.
Post-processing: keep the atmosphere
I develop neon alley photos with a few guiding principles:
- Recover highlights carefully to avoid haloing around bright signs.
- Reduce noise selectively — keep texture in wet cobblestones and clouds in the sky, but smooth shadow noise.
- Tweak white balance for mood. Slightly cooler tones can emphasize melancholy; warmer tones feel cozy.
- Increase local contrast and clarity selectively on textures (wet pavement, signage) while maintaining softer skin tones if people are present.
- Saturation: nudge neon hues, but avoid oversaturation—bright colors look artificial when pushed too far.
Sample handheld workflow on a Shimokitazawa alley
Here’s a quick run-through of a typical shoot:
Safety and practical notes
Rainy evenings are beautiful but can be slippery. Wear shoes with good grip and pack a small towel or cloth to wipe your lens. Keep valuables secure — the neighborhood is safe, but crowded alleys invite jostle. Finally, respect shop owners and keep your sessions short if you’re shooting near a business entrance.
Shimokitazawa’s neon alleys are a photographer’s small theater: perform minimal, observe much, and let the light and weather do the storytelling. With a compact mirrorless and these handheld techniques, you can capture images that feel cinematic and intimate — no tripod necessary.