I spend a lot of weekends stitching together markets, greasy spoons and pop‑up kitchens across east London, and the Oyster card has become my secret weapon for turning a hungry day of street food into a perfectly budgeted adventure. Below I map a doable all‑day crawl that keeps costs low with smart travel choices, small‑plate eats and a sensible route through neighborhoods where the food is as colorful as the streets. I’ll explain how I use my Oyster (and contactless) to cap transport spend, what to touch and where not to, and which stalls I actually stop at when I’m chasing that perfect bite.
Why an Oyster (or contactless) matters for a street‑food crawl
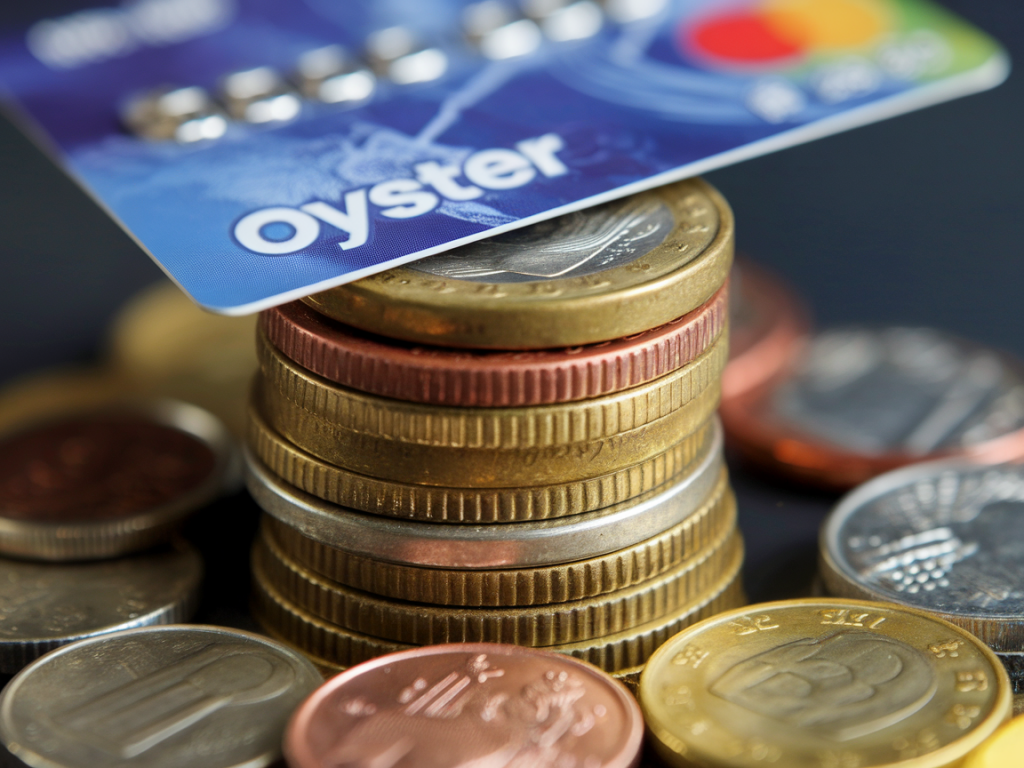
Two reasons I always use Oyster/contactless: fare capping and flexibility. If you’re hopping between markets and venues all day, the daily cap means you won’t watch your travel tab spiral. You can take short Overground hops, jump on a bus to cross a river, and still keep your total transport spend predictable. Contactless cards and Oyster work the same way on tarifas and caps — so use whichever you already have.
Quick practical notes:
Check your balance and top up at any Tube station, Overground station or TfL retailer. I usually keep £20 on the card for a day like this and top up later if needed.Touch in and out where required — Tube, DLR and Overground expect both. Buses and trams are touch in only.Daily cap — There’s a cap for Zones 1–2 that will limit what you pay regardless of how many journeys you make; check TfL for the up‑to‑date cap before you travel.Tools I use before leaving the flat
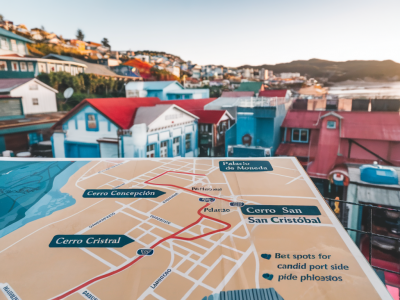
Check TfL Journey Planner for planned closures (Overground) — markets don’t wait for engineering works.Download a small map or take screenshots of the day's route — I don’t want to waste data hunting stalls mid‑crawl.Pack a small tote or backpack for carry‑outs, a refillable water bottle and wet wipes.Route: a budget‑friendly East London street‑food crawl (about 10–12 stops, walking + short hops)
Start around 10:00 and aim to finish around golden hour if you want to shoot photos of wet cobbles and neon signs. I build this loop so most travel is Zone 1–2 — that keeps you inside the lowest daily cap.
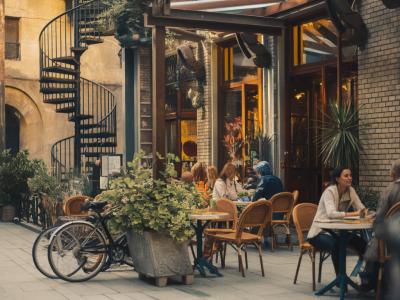
Step 1 — Shoreditch High Street (start): Walk out and warm up with a coffee and a small pastry from a canal café. If it’s a weekday, smaller carts and weekday lunch vendors are often open early.Step 2 — Brick Lane (bagels & curries): Walk or take a single short Overground/Tube hop. My must‑eat is a salt beef beigel from Beigel Bake (open late). For a budget option, share a half beigel and a Bengali bhuna spooned from a street cart. Brick Lane’s curry houses are also great for a mid‑day split plate.Step 3 — Old Spitalfields Market: 10 minutes’ walk from Brick Lane. This is a good place to sample small plates from multiple vendors — think bao, mezze plates, and artisanal ice cream. I split snacks here to keep my budget intact.Step 4 — Petticoat Lane/Whitechapel Market: Walk south to find East End deli classics, cheap roasted meats and sweet pastries. It’s a great place to grab something inexpensive and very local.Step 5 — Columbia Road (Sunday only): If you’re here on a Sunday, extend north to Columbia Road for floral chaos and small brunch stalls. Try a fried halloumi wrap or a flatbread slice while you roam.Step 6 — Broadway Market (Hackney): Take the Overground or a short bus for a change of scene. Broadway Market offers seasonal street food — Lebanese mezze, Scotch eggs, and excellent coffee. Share small plates. I often budget £3–£5 per vendor rather than a single big meal.Step 7 — Ridley Road Market, Dalston: A short bus or Overground hop. This market is a treasure for African and Caribbean street food — suya, jollof rice, patties. Portions are generous and prices friendly.Optional extension — Maltby Street Market: If you want to cross the river and finish near London Bridge, take the Overground southeast for Maltby Street’s ropewalk of pop‑ups. A single hop across the river is still usually inside Zones 1–2/3 depending on route — plan with TfL.Throughout the day I keep each stop small: half portions, shared plates, and a single coffee between two people. That’s the trick to tasting more without paying for full meals at every stall.
How to manage fares during the crawl
Here’s how I control costs using Oyster/contactless:
Stick to Zone 1–2 when possible. Most east London markets and food hubs sit inside Zones 1–2. Moving within these zones keeps you under the smallest daily cap.Mix walking and short hops. I plan walking legs of 10–20 minutes between close markets — it saves money and helps digest that second portion of bao.Use buses for short cross‑town travel. Buses are often cheaper than the Tube and you only touch in once. They’re slower but allow you to watch streets unfold.Keep an eye on caps. Once you’ve reached the daily cap (the system will not charge beyond it), you’re effectively traveling for free for the rest of the day — so I often time a longer hop for late afternoon once I know I’ve hit the cap. | Mode | Touch behavior | Typical use on a crawl |
| Tube/Overground/DLR | Touch in and touch out | Short hops between markets; quick cross‑town moves |
| Bus | Touch in only | Cheap cross‑town travel; scenic and useful for market hops |
| Contactless card | Same rules as Oyster | Works interchangeably; great if you don’t have an Oyster |
Budget example for one person (very rough)
I aim for a total outlay of £20–£35 for the day (transport + food). That works if you:
Keep meals to multiple small bites (£3–£7 each),Use Zone 1–2 travel only (daily cap),Share coffees or buy one specialty coffee that lasts.Sample breakdown: £7–£8 for travel day cap (Zones 1–2), plus 4–6 small eats averaging £4 each = £16–£24. Add a coffee and a snack and you’re still likely under £35. If you cross into Zone 3 or take river boats, adjust accordingly.
Practical tips I use in the field
Carry cash and card. Some stalls prefer contactless; smaller or older vendors sometimes still take cash.Ask before you sit. At some markets a vendor’s stall area isn’t public seating — always check.Share plates. Split bigger dishes to taste more without doubling the price.Photograph receipts and routes. For budgeting and for sharing later on Acidadventure, I snap quick notes.Mind peak travel times. Buses can slow around 0900–1000 and 1700–1900; plan walking legs during those hours.Photo and sensory tips while you crawl
I shoot with a compact mirrorless and always look for texture: steaming bao tops, oily curry glazes, neon shopfronts and market tarps backlit at golden hour. Try a 50–100mm equivalent for close food shots and a wider 24–35mm for market scenes. Low light? Use natural dot light from stalls; I avoid flash to preserve mood.
If you want, I can tailor this crawl to a specific day of the week (some markets only run weekends), or map a tighter budget for under £20. Otherwise, grab your Oyster, bring comfortable shoes, and let the East End feed you little by little — it’s my favourite way to learn a neighbourhood through its kitchens and street corners.